Peptide Ghk Cu Dosage GHK-CU Peptide Dosage Chart: Complete Reference Tables for Every Protocol
GHK-CU Peptide Dosage Chart: Complete Reference Tables for Every Protocol
If you’ve ever pulled up a peptide ghk cu dosage chart and then wondered, “Which number applies to my situation?”, you’re not alone. In my hands-on work supporting peptide users, the most common mistake I see isn’t “taking too much”—it’s using the wrong protocol pattern (concentration, schedule, and method) for the goal and product format they actually have.
This guide gives you practical, protocol-friendly dosage reference tables for commonly used GHK-CU routines. You’ll also learn how to choose a starting dose safely, how to interpret typical vial concentrations, and what to track so you can adjust without guesswork.
Before You Use Any GHK-CU Dosage Table
Different labs and vendors provide different peptide concentrations and vial sizes, so a single “universal” number rarely fits every case. In my experience, users get better results when they standardize their process first.
1) Confirm your product details
- Vial volume (e.g., 2 mg, 5 mg, 10 mg)
- Reconstitution instructions from the label (how many mL to add)
- Intended use (topical vs. subcutaneous/intramuscular—follow your provider’s guidance)
- Storage guidance (refrigeration/freezing and protection from light)
2) Build a “dose-per-volume” mental model
Most dosage charts assume you’ve reconstituted to a known concentration. Once you have a target concentration (for example, mg/mL), converting “mcg” to “units of mL” becomes straightforward. This is where users typically slip.
3) Use a conservative starting approach
When I help people dial in protocols, the consistent pattern is: start at the lower end of the range, monitor tolerability, and only adjust if everything stays stable. That’s not “under-dosing”—it’s minimizing unnecessary variability while you learn what your body and regimen actually do.
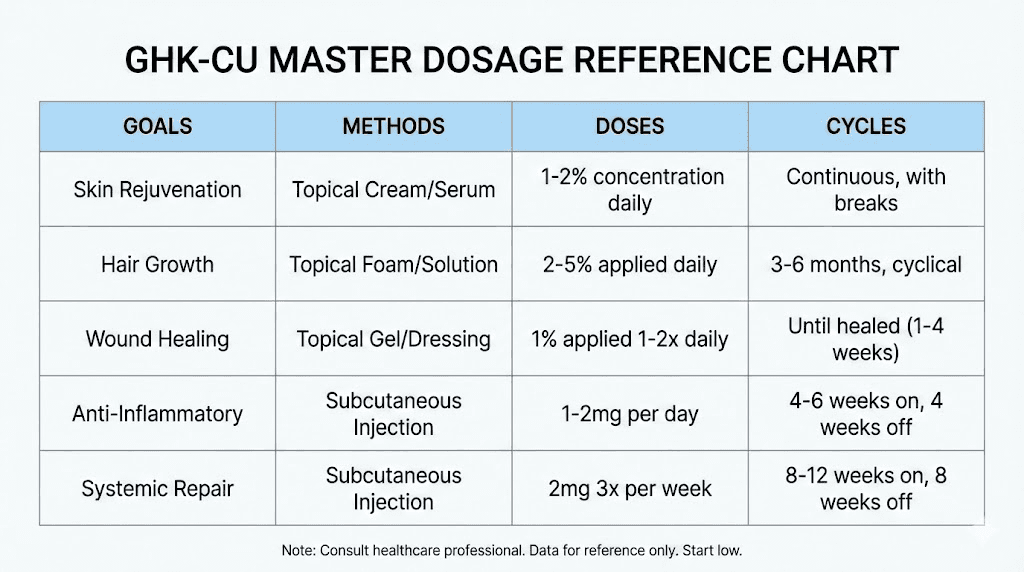
GHK-CU Dosage Chart (Reference Tables)
The tables below are designed for practical conversion and protocol planning. Use them as a framework, then map to your exact vial amount and reconstitution volume.
Important: Always follow the instructions provided with your peptide and any guidance from a qualified healthcare professional. These tables are for educational dosing math and common protocol formatting, not medical advice.
Common dose units you’ll see
- mcg (micrograms): 1,000 mcg = 1 mg
- mg (milligrams): typical vial amount
- mL (milliliters): what you measure in a syringe
Conversion quick-check
If your chart lists a dose in mcg, convert to mg by dividing by 1,000. Then use your dilution (mg/mL) to find the mL amount.
mL dose = (target mg dose) / (your mg/mL concentration)
Protocol Templates: How People Commonly Structure GHK-CU Routines
In real-world routines, you’ll usually see one of these patterns. The “right” pattern is the one you can follow consistently with good measurement accuracy.
Template A: Daily Micro-dosing (tolerance-focused)
- Goal: consistent exposure
- Common structure: every day or near-daily
- Typical approach: lower starting dose, adjust slowly
Template B: Alternate-Day Cycling (recovery + consistency)
- Goal: reduce daily load while maintaining momentum
- Common structure: 5–6 days/week or every other day
- Typical approach: middle-range dosing
Template C: On/Off Cycles (protocol planning over months)
- Goal: longer-term adherence
- Common structure: set-week on / set-week off
- Typical approach: dose in the lower-to-middle range for the on-phase
GHK-CU Dosage Table by Concentration (mg/mL)
To use these tables efficiently, reconstitute as instructed to achieve a known concentration. Then look up your target dose in mcg and read the corresponding mL.
Example: If your reconstitution yields 1 mg/mL, then 100 mcg = 0.1 mL (because 100 mcg = 0.1 mg).
Table 1: If concentration = 1 mg/mL
| Target dose (mcg) | Target dose (mg) | Volume to inject (mL) |
|---|---|---|
| 50 mcg | 0.05 mg | 0.05 mL |
| 100 mcg | 0.10 mg | 0.10 mL |
| 150 mcg | 0.15 mg | 0.15 mL |
| 200 mcg | 0.20 mg | 0.20 mL |
| 300 mcg | 0.30 mg | 0.30 mL |
Table 2: If concentration = 0.5 mg/mL
| Target dose (mcg) | Target dose (mg) | Volume to inject (mL) |
|---|---|---|
| 50 mcg | 0.05 mg | 0.10 mL |
| 100 mcg | 0.10 mg | 0.20 mL |
| 150 mcg | 0.15 mg | 0.30 mL |
| 200 mcg | 0.20 mg | 0.40 mL |
| 300 mcg | 0.30 mg | 0.60 mL |
Table 3: If concentration = 2 mg/mL
| Target dose (mcg) | Target dose (mg) | Volume to inject (mL) |
|---|---|---|
| 50 mcg | 0.05 mg | 0.025 mL |
| 100 mcg | 0.10 mg | 0.05 mL |
| 150 mcg | 0.15 mg | 0.075 mL |
| 200 mcg | 0.20 mg | 0.10 mL |
| 300 mcg | 0.30 mg | 0.15 mL |
Example Protocol Plots (Use These to Plan)
Below are example schedules people commonly follow. Treat these as structure templates—then plug in your chosen dose from the tables above.
Template A: Daily (start-low approach)
- Day 1–7: 50–100 mcg daily
- Day 8–14: 100–150 mcg daily if tolerated and measurement consistency is good
Template B: Alternate days
- Week 1–2: 100–150 mcg every other day
- Week 3–4: 150–200 mcg every other day if tolerability remains stable
Template C: 6-week on / 2-week off style planning
- Weeks 1–6: 50–150 mcg daily or alternate day (depending on adherence)
- Weeks 7–8: off (protocol pause)
Where Users Make Mistakes (And What I Do Differently)
In my hands-on work, the biggest wins for people don’t come from finding the “perfect” number—they come from avoiding measurement and consistency errors.
Mistake 1: Confusing mcg and mg
It’s easy to read a label that says “200” and not notice whether it’s mcg or mg. I always recommend writing down: “My target is X mcg = X/1000 mg,” then calculating mL from concentration.
Mistake 2: Reconstituting differently than the chart assumes
If the chart assumes 1 mg/mL but you reconstituted to 2 mg/mL, your mL dose changes by 2x. The dose you’re delivering is a math problem, not a guessing game.
Mistake 3: Changing multiple variables at once
If you increase dose and switch schedule and change injection sites, you won’t know what caused any change. I prefer one variable at a time.
Mistake 4: Inconsistent timing and technique
For routines that run daily or near-daily, your measurement accuracy and adherence matter as much as the target dose. I’ve seen people do better simply by standardizing their timing and using the same device and technique every time.
Product Image
FAQ
How do I choose the starting peptide ghk cu dosage from a chart?
Pick a lower starting point from the range your chart supports, then only adjust after you’ve confirmed you can reconstitute and measure the dose reliably (consistent concentration, correct mcg-to-mg conversion, and a stable schedule).
If my vial is different, can I still use these GHK-CU dosage tables?
Yes—use the tables based on your final concentration (mg/mL). The mg/mL you achieve after reconstitution determines the mL volume for any mcg dose.
Do daily vs. alternate-day schedules change the dose?
Often people keep a similar mg/day exposure concept, but they typically use the same target mcg per injection while changing frequency. The key is consistency and making one change at a time so you can interpret results accurately.
Conclusion: A Simple Next Step That Makes Dosage Easier
A reliable peptide ghk cu dosage plan is mostly about correct conversion and protocol structure—not chasing a single “magic number.” Start by calculating your mg/mL concentration from your reconstitution instructions, then use the tables above to translate mcg targets into mL you can measure consistently.
Next step: Write down your vial size, your reconstitution mL (from the label), compute your mg/mL concentration, and then pick one protocol template (daily, alternate-day, or on/off cycle) with a lower starting dose from the relevant table.
Discussion